


I saw this idea for a lipstick organizer last week and I loved it, because it's so easy to see each lipstick (brand and colour you may look for) and makes it accessible. Also, if you group them by colours, it's easier to decide which to use and never forget about some of them.
 Materials:

- shoe box
- tape or glue
- pencil
- scissors
- optional: coloured paper of your choice and double sided tape
- tape or glue
- pencil
- scissors
- optional: coloured paper of your choice and double sided tape
Steps:
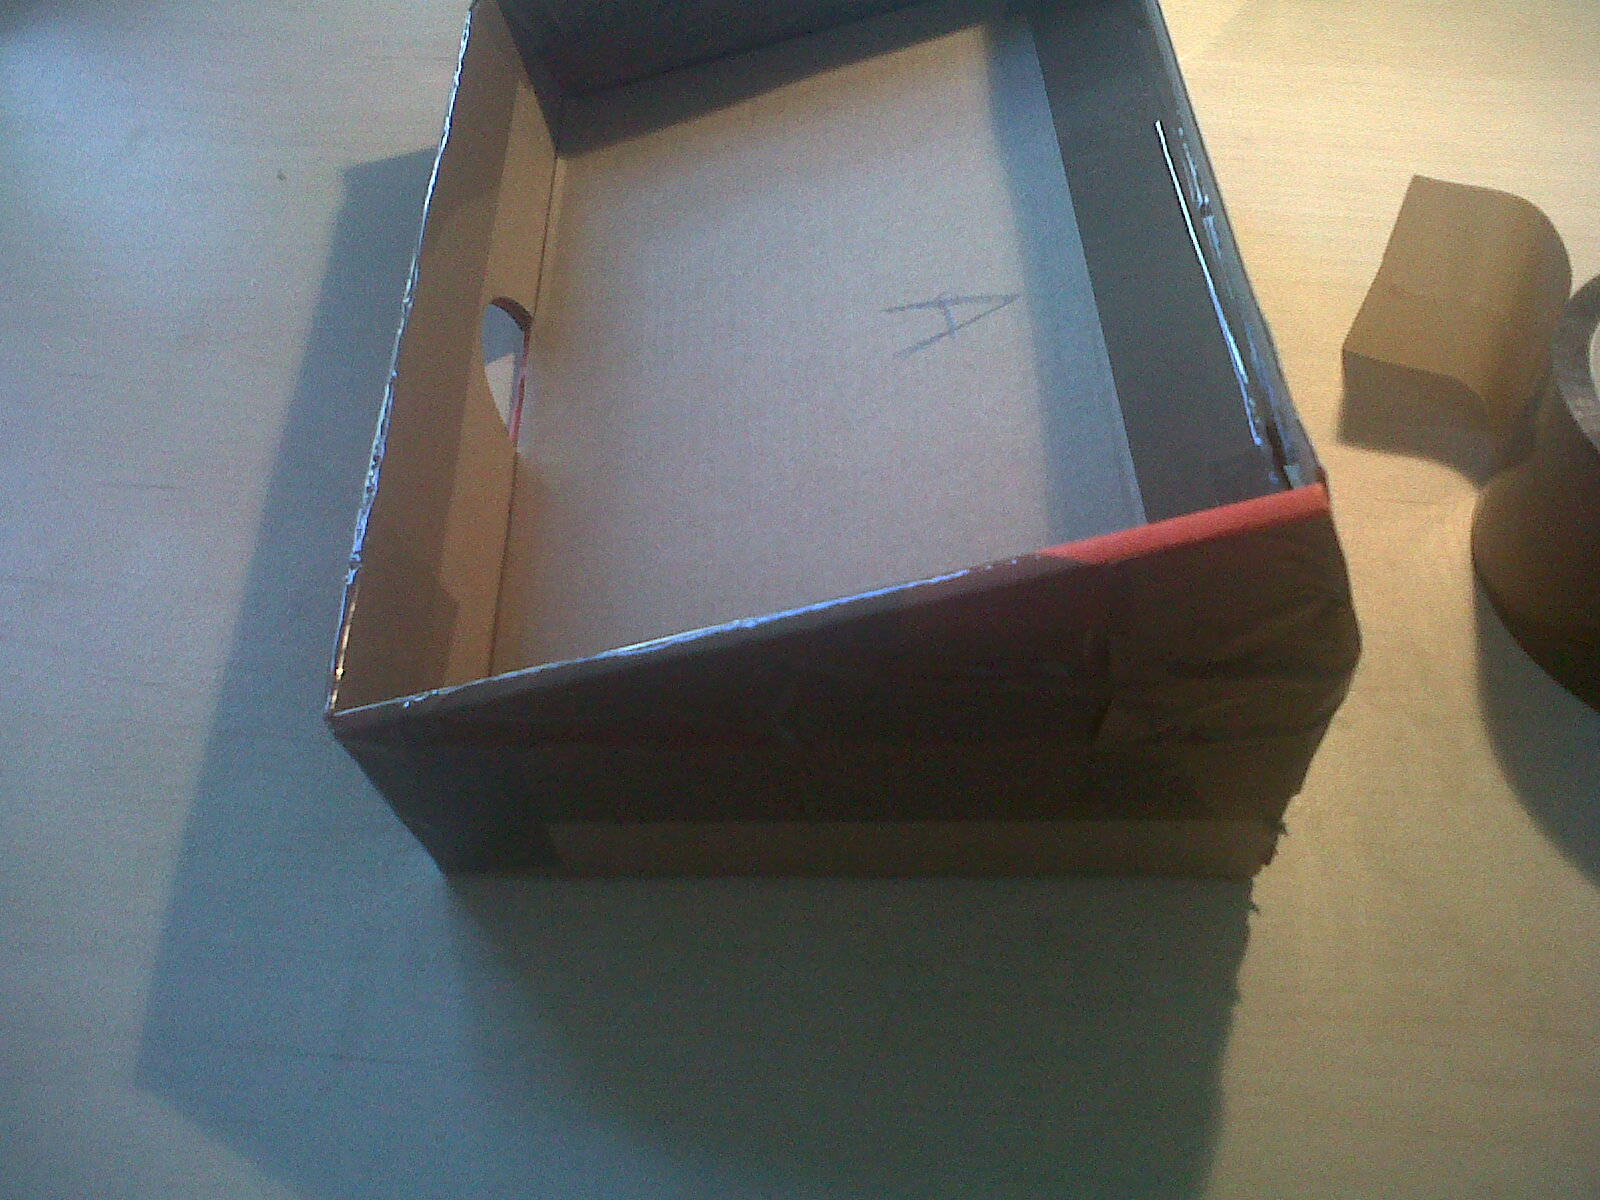
1. Take the lid of the box and measure and mark with the pencil 3 sections, as in the picture. In my case, A = 14 cm, B = 5cm and C = 11cm. Cut the marked part. Also include de edges of the box in this, as it will help to make the organizer stand. Also, if you shoe lid already has side walls keep them.
 |
| Step 1. |
 |
| Step 1. |
 |
| Step 2. |
 |
| Step 2. |
2. Fold the lid alongside the 2 marked lines, and join the edges together, as seen in the picture. Glue or tape the ends so you'd get a hollow pyramid shape.
 |
| Step 2. |
3. If your lid did not have side walls, build them and add them now, so stuff won't fall out of your organizer ;)
4. Make sure everything is glued or taped well in place, then cover what you have so far with coloured paper. If you want you can skip this step.
5. Measure the width and length of you organizer and decide how many compartments you want inside.
6. From the rest of the shoe box, cut out strips that are:
Strip 1: height x length (of the organizer you glued together in step 2)
Strip 2: height x width
The number of strips depends on the number of compartments you want. After cutting the pieces, make sure they fit in the organizer.
 |
| Step 6. |
 |
| Step 7. |
7. Make small cut-outs in the strips. For strip 1 the cut-outs go 1 cm inside the strip. For strip 2 the cut-outs go to height minus 1 cm. The distance between the cut-outs, length wise, is given by how many mini compartments you want in your organizer.
 |
| Step 9. |
8. Cover all the strips in coloured paper and remake the cut-outs.
9. Place the strips in a grid shape.
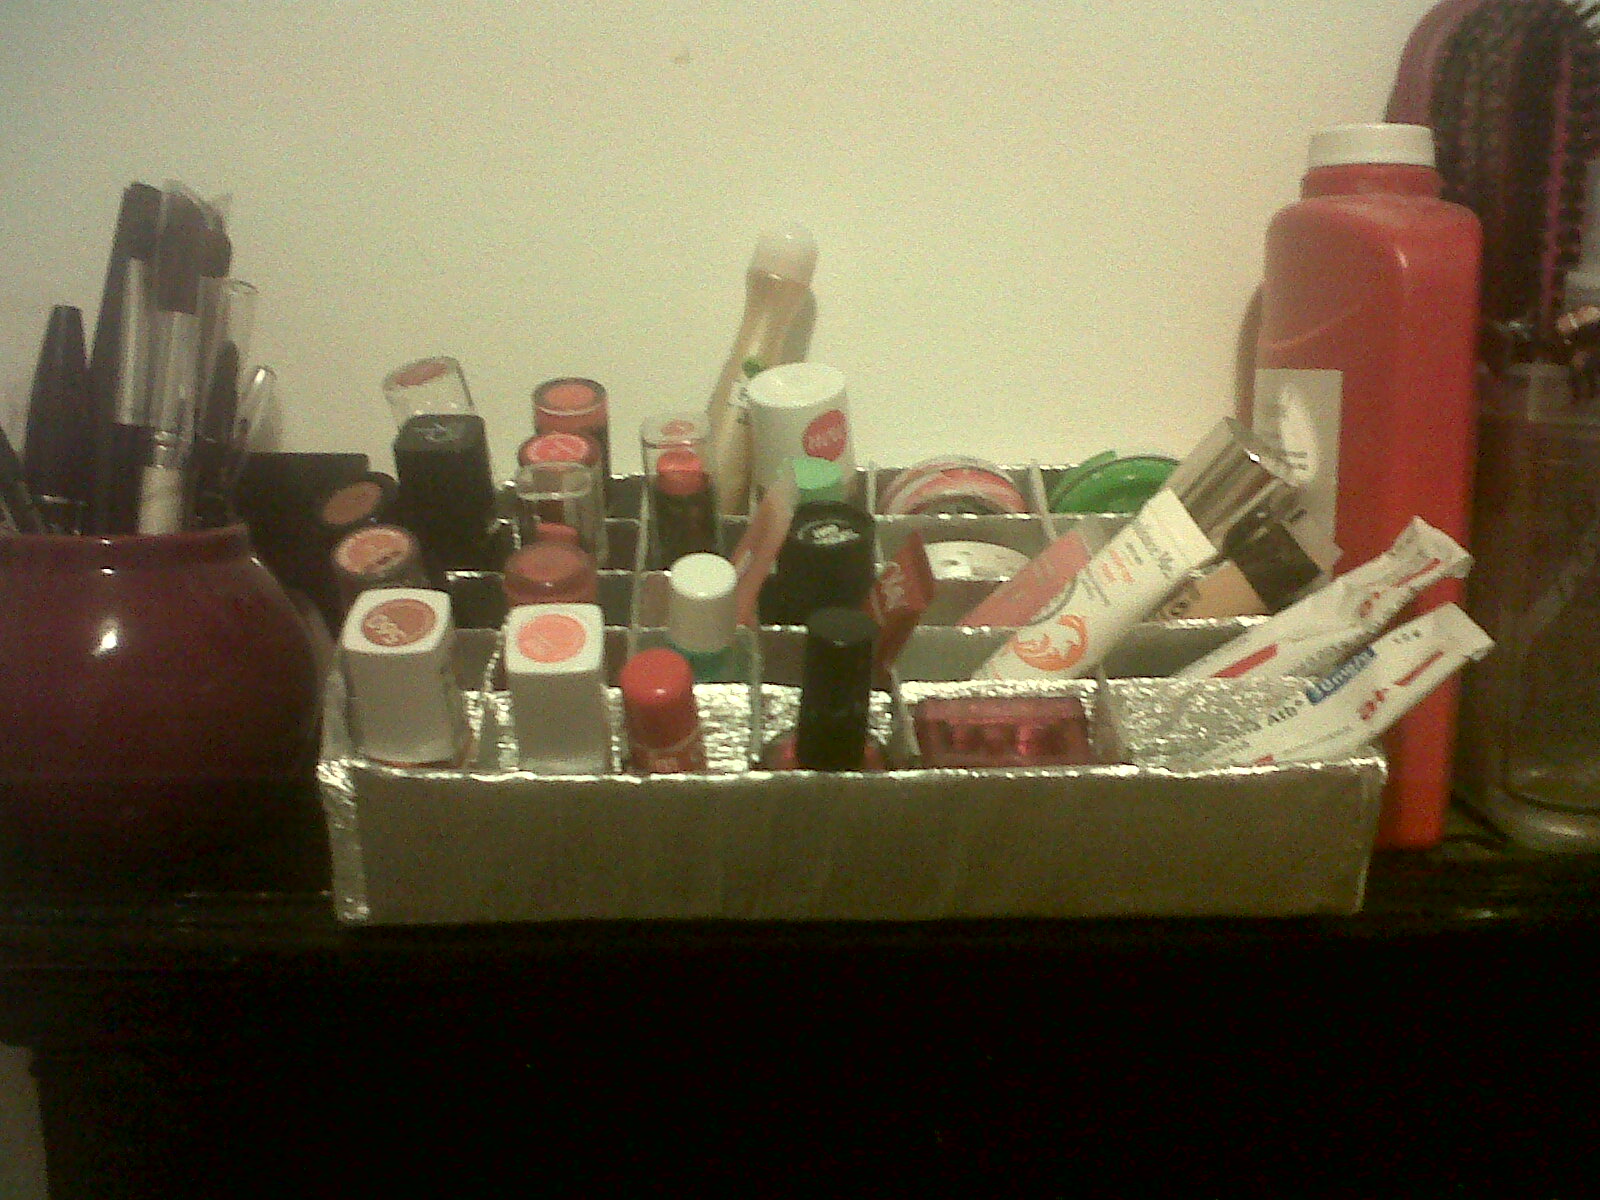
10. Place the grid inside the organizer.
11. Arrange your lipsticks or other smaller bits in and enjoy your new organizer!
9. Place the strips in a grid shape.
10. Place the grid inside the organizer.
11. Arrange your lipsticks or other smaller bits in and enjoy your new organizer!
 |
| Step 10. |
 |
| Step 10. |
 |
| Step 11. |
Hope this is useful! If it is, would like to hear opinions :) This little project is so fun to make, and I really like having it around just keeping everything nice and tiny!
Later edit: I made a similar holder/organizer for my nail polish. These things are amazing at displaying your stuff and keeping all in one place. I cleared out so much space by using these! I am one happy camper! ;)

No comments:
Post a Comment
Pen and paper - write your thoughts :)