Follow on: Follow on Bloglovin Follow Me on Pinterest Instagram
Share to: Share on Tumblr

Latest post

Latest post

Wednesday 19 June 2013

2. Easy and creative jumper revamp

This is so easy and at the same time gives so much character to a plain jumper, that I just had to do it. Took me in total half hour. What i did was to sew in the star designs. This of course allows for lots of different designs according to different preferences :) I folded the thread 4 times to ensure it's thick enough to be noticed. When passing the thread through the jumper, I noticed I had to be very careful not to full hardly on the thread so the material would not be gathered.

And voila! An eye catching jumper just like that! I got so many little things thanks to this! :)

Sunday 16 June 2013

DIY - Shirt collar necklace


When I was really into the collar necklace trend, I also discovered the shirt collar necklace, which I thought was an amazing idea!! Still, I did not want to ruin one of my shirts or buy a shirt just to cut the collar off. The idea I had instead was to make the collar from scratch using an old pair of jeans I was not using anymore. Because I thought the project involved much more sewing than I was up for, I waited until I got the sewing machine to do it :)
The first thing I did was to find a video showing how to make the collar from scratch. I will detail the steps below, but the video that helped me a lot (and describes the steps faster and easier) is this:


Materials:

- fabric
- a shirt to measure the collar
- sewing machine or neddle and thread; I also had invisible thread for some parts
- scissors
- chalk
- lace for embellishment
- snap fastener
- pins

Steps:

1. Using your favourite shirt, mark the contour of the collar on the fabric. Don't forget to leave about 2cm allowance.There's the pointed part and the base part. Mark these separately, on the back (inside) part of the fabric. I did this on the leg of the jeans, so I cut 2 pieces each from the beginning.
Step 1.

Step 2. 
Step 2.
2. Pin the 2 pieces (top and bottom) together as the pic shows, and cut along-side the pattern you marked.
3. Once you've cut it, you have to sew the 2 pieces together as:
- for the pointed pieces, sew along-side the outer part (the one that will be folded outwards) and on the side parts.
- for the base part, sew on the sides and the bottom part of it as it will sit on your neck.
The pictures say more than 1000 words :)

Step 3.

Step 4.
4. Turn both of the parts your are left with inside out.
5. Place the pointed side inside the base part, and sew along-side the part that overlaps. I used invisible thread for this :)

Step 5.
Step 6.


Step 6.

Step 6.


6. Using pins arrange the decorative lace as you think you want it. Before sewing mock try the collar on, to see how everything looks when you fold it on the neck ;) when you are happy with the design, sew on the lace. If you feel inspired add other embellishments.  I added a bit of pink lace as well, for contrast. You can add rhinestones,  buttons, pearls or whatever else floats your boat :)
Step 6.

Step 7.
Step 7.
7. Try it on again to see where you need to place the snap fasteners, and sew them in. Take extra care at this last step ;) You don't want to place them misaligned and ruin everything at the end!!

Step 7.

And voila! You have a beautiful shirt collar!! Tip: this goes amazing with an androgynous outfit, but with very girly hairstyle, make-up, jewellery and shoes! Have fun with it, I know it did! :)
If you like this, would like to hear it :)

Friday 7 June 2013

DIY - Lipstick holder / cosmetics organizer


I saw this idea for a lipstick organizer last week and I loved it, because it's so easy to see each lipstick (brand and colour you may look for) and makes it accessible. Also, if you group them by colours, it's easier to decide which to use and never forget about some of them.

Materials:

- shoe box
- tape or glue
- pencil
- scissors
- optional:  coloured paper of your choice and double sided tape

Steps:

1. Take the lid of the box and measure and mark with the pencil 3 sections, as in the picture. In my case, A = 14 cm, B = 5cm and C = 11cm. Cut the marked part. Also include de edges of the box in this, as it will help to make the organizer stand. Also, if you shoe lid already has side walls keep them.
Step 1.
Step 1.


Step 2.
Step 2.
2. Fold the lid alongside the 2 marked lines, and join the edges together, as seen in the picture. Glue or tape the ends so you'd get a hollow pyramid shape.

Step 2.
3. If your lid did not have side walls, build them and add them now, so stuff won't fall out of your organizer ;)
4. Make sure everything is glued or taped well in place, then cover what you have so far with coloured paper. If you want you can skip this step.
5. Measure the width and length of you organizer and decide how many compartments you want inside.
6. From the rest of the shoe box, cut out strips that are:
Strip 1: height x length (of the organizer you glued together in step 2)
Strip 2: height x width
The number of strips depends on the number of compartments you want. After cutting the pieces, make sure they fit in the organizer.
Step 6.
Step 7.
7. Make small cut-outs in the strips. For strip 1 the cut-outs go 1 cm inside the strip. For strip 2 the cut-outs go to height minus 1 cm. The distance between the cut-outs, length wise, is given by how many mini compartments you want in your organizer.
Step 9.
8. Cover all the strips in coloured paper and remake the cut-outs.
9. Place the strips in a grid shape.
10. Place the grid inside the organizer.
11. Arrange your lipsticks or other smaller bits in and enjoy your new organizer!


Step 10.
Step 10.

Step 11.

Hope this is useful! If it is, would like to hear opinions :) This little project is so fun to make, and I really like having it around just keeping everything nice and tiny!


Later edit: I made a similar holder/organizer for my nail polish. These things are amazing at displaying your stuff and keeping all in one place. I cleared out so much space by using these! I am one happy camper! ;)


Saturday 1 June 2013

1. Charity/Thrift store diamonds in the rough

I visit the charity/thrift stores usually not to find ready stuff (although the ocasions when I do find something that I like and is my size are of course welcomed :) ), but for little gems I can reconstruct, restyle or use with a different purpose as intended.
I colour coded what to look for with purple and what to do with it in red. I think with these things in mind, checking out the thrift stores can be a lot of fun and also productive :)

1. Always look at the discounted items racks for:
  • clothes you can modify to fit your size
  • fabrics that you like and can reuse for other projects
  • clothes you can take out and reuse the zipper, buttons, collars or other different parts from.

2. Look at the jewelry section, again for pieces that you can break down and reuse for your own jewelry projects or for embellishing. I always look at the weirdest, ugliest and chunkier jewelry pieces,  people usually think I have horrible taste haha

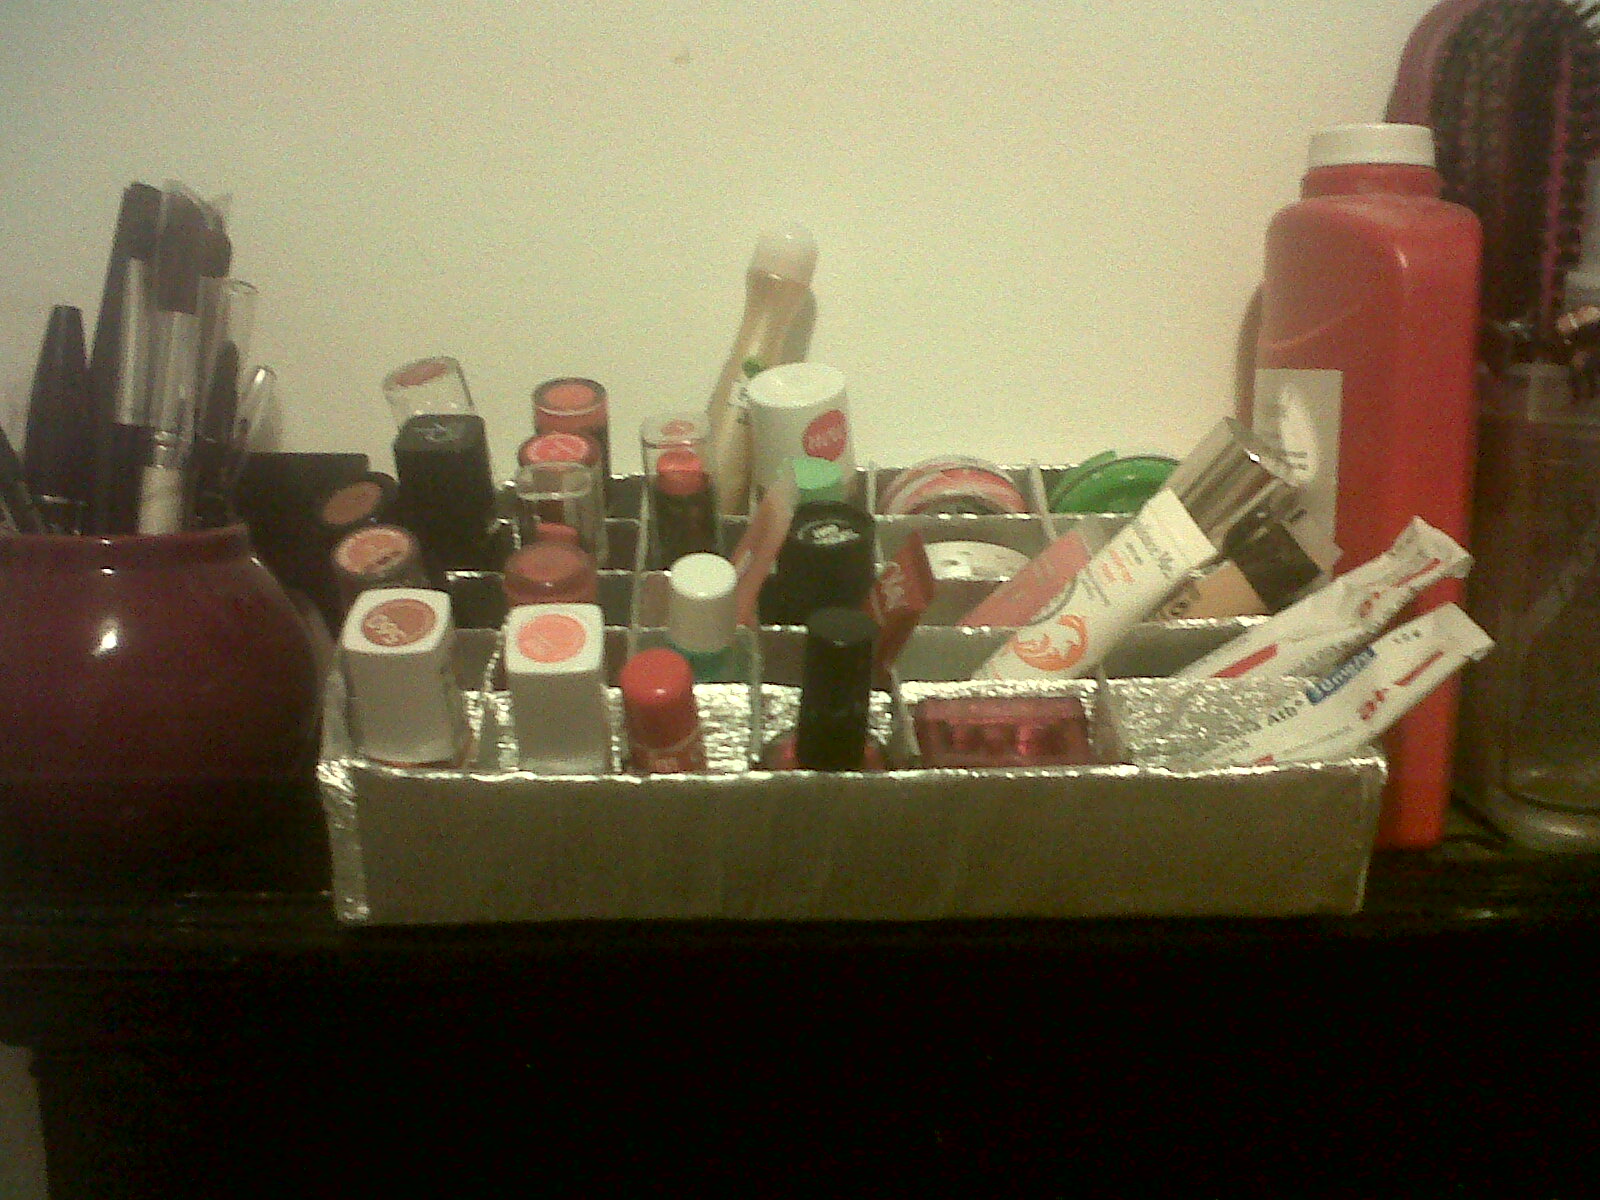
3. Have a look at their 'home' stuff..I always find cute jars, small vases and containers that are very nice and more importantly unique for organizing makeup, your crafting supplies, or any other random bits ;)

4. When you see a new trend you would like to have a try at, just keep it always in the back of your head and try to look for that specific thing at the thrift store. You may not find it in your size or the exact style you are looking for, but this is what we love to do: get our hands dirty (not literally of course) and reconstruct and modify things!! For example, I wanted a high-low skirt, but I do not like the chiffon style going around, it's nice but it's not really me. I do love however pleated skirts, so I bought from the thrift store a huge pleated skirt in size 20, when usually I wear size 10 :) it's beautiful, I paid only £1 for it, and now I have a fun  project on my hands! Hopefully soon I will try it out.
This also means that you will have something different from everyone else but still trendy, fashionable and up to date. 

5. The same as point 4 goes for other non-clothing crafting projects you might want to undertake: if you want to do a jewelry holder, look for a picture frame for example. Keep your 'I sooo want it!!!' list in mind.

That's it from me so far :) I do enjoy checking out the thrift stores, and would like to hear what little diamonds in the rough everyone else found!