Follow on: Follow on Bloglovin Follow Me on Pinterest Instagram
Share to: Share on Tumblr

Latest post

Latest post
Showing posts with label organizing. Show all posts

Friday, 7 June 2013

DIY - Lipstick holder / cosmetics organizer


I saw this idea for a lipstick organizer last week and I loved it, because it's so easy to see each lipstick (brand and colour you may look for) and makes it accessible. Also, if you group them by colours, it's easier to decide which to use and never forget about some of them.

Materials:

- shoe box
- tape or glue
- pencil
- scissors
- optional:  coloured paper of your choice and double sided tape

Steps:

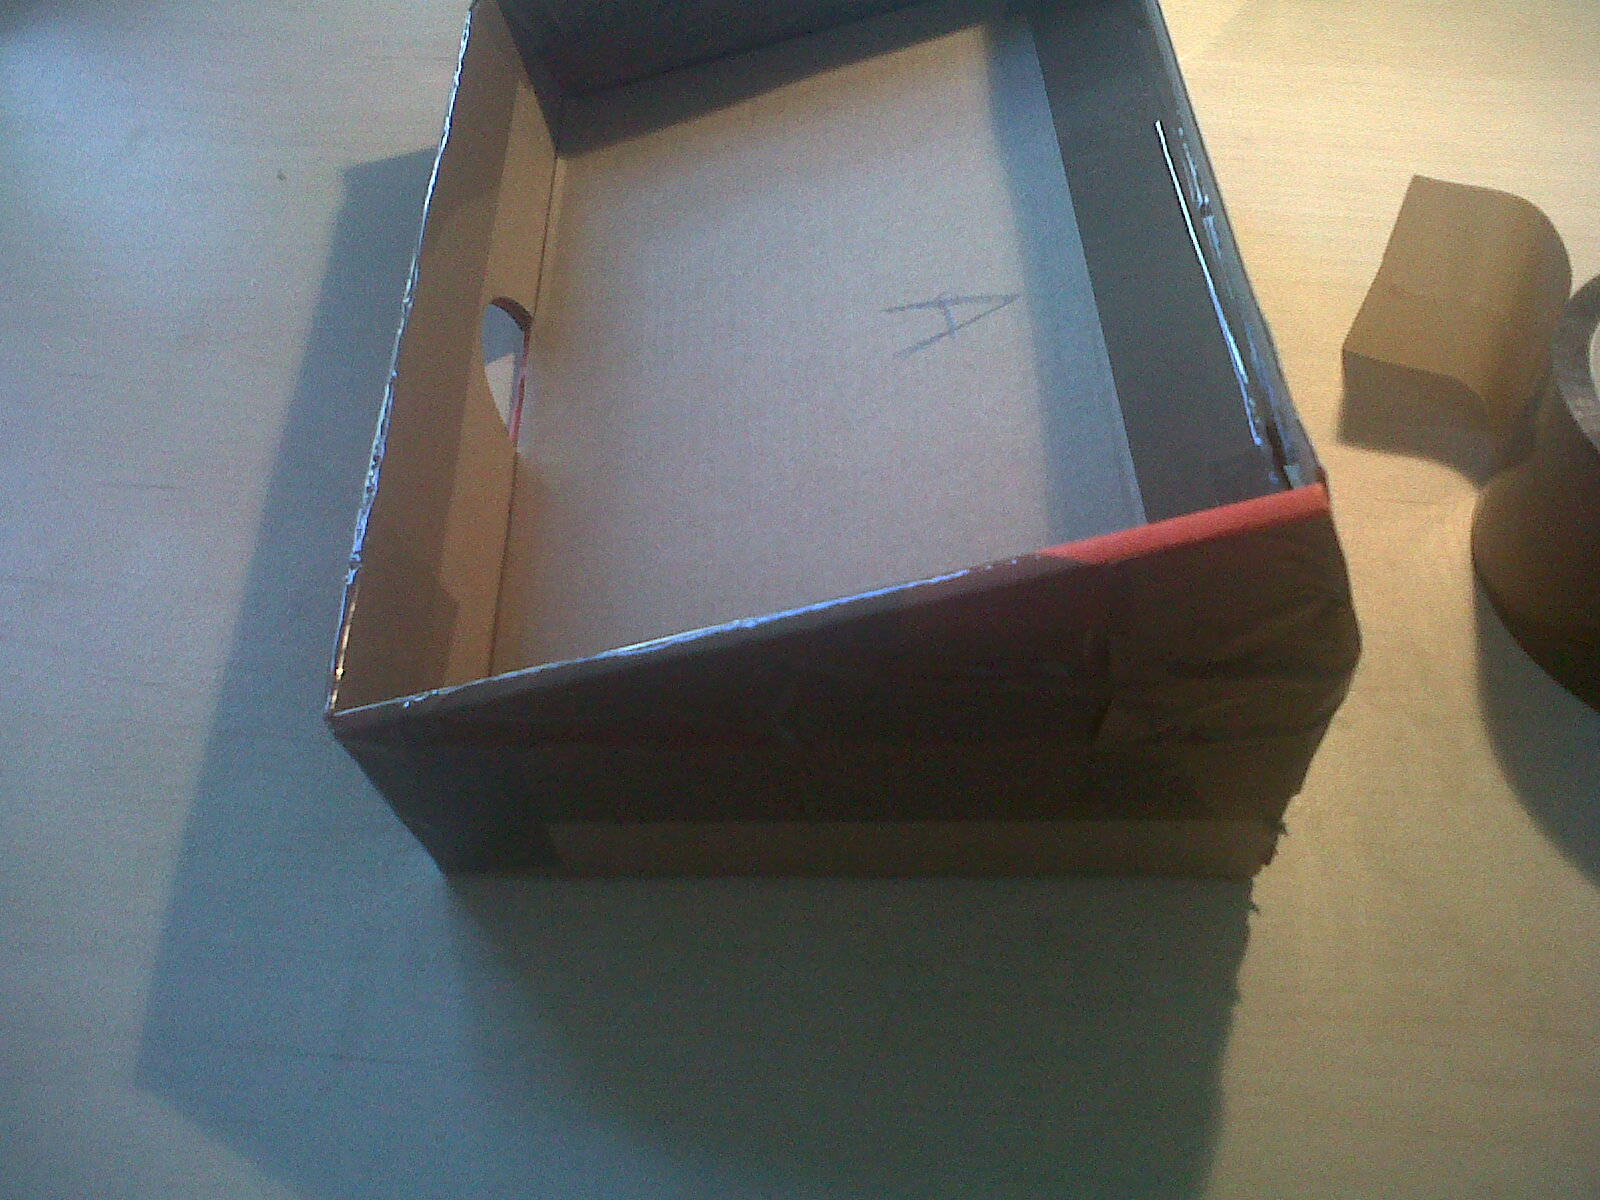
1. Take the lid of the box and measure and mark with the pencil 3 sections, as in the picture. In my case, A = 14 cm, B = 5cm and C = 11cm. Cut the marked part. Also include de edges of the box in this, as it will help to make the organizer stand. Also, if you shoe lid already has side walls keep them.
Step 1.
Step 1.


Step 2.
Step 2.
2. Fold the lid alongside the 2 marked lines, and join the edges together, as seen in the picture. Glue or tape the ends so you'd get a hollow pyramid shape.

Step 2.
3. If your lid did not have side walls, build them and add them now, so stuff won't fall out of your organizer ;)
4. Make sure everything is glued or taped well in place, then cover what you have so far with coloured paper. If you want you can skip this step.
5. Measure the width and length of you organizer and decide how many compartments you want inside.
6. From the rest of the shoe box, cut out strips that are:
Strip 1: height x length (of the organizer you glued together in step 2)
Strip 2: height x width
The number of strips depends on the number of compartments you want. After cutting the pieces, make sure they fit in the organizer.
Step 6.
Step 7.
7. Make small cut-outs in the strips. For strip 1 the cut-outs go 1 cm inside the strip. For strip 2 the cut-outs go to height minus 1 cm. The distance between the cut-outs, length wise, is given by how many mini compartments you want in your organizer.
Step 9.
8. Cover all the strips in coloured paper and remake the cut-outs.
9. Place the strips in a grid shape.
10. Place the grid inside the organizer.
11. Arrange your lipsticks or other smaller bits in and enjoy your new organizer!


Step 10.
Step 10.

Step 11.

Hope this is useful! If it is, would like to hear opinions :) This little project is so fun to make, and I really like having it around just keeping everything nice and tiny!
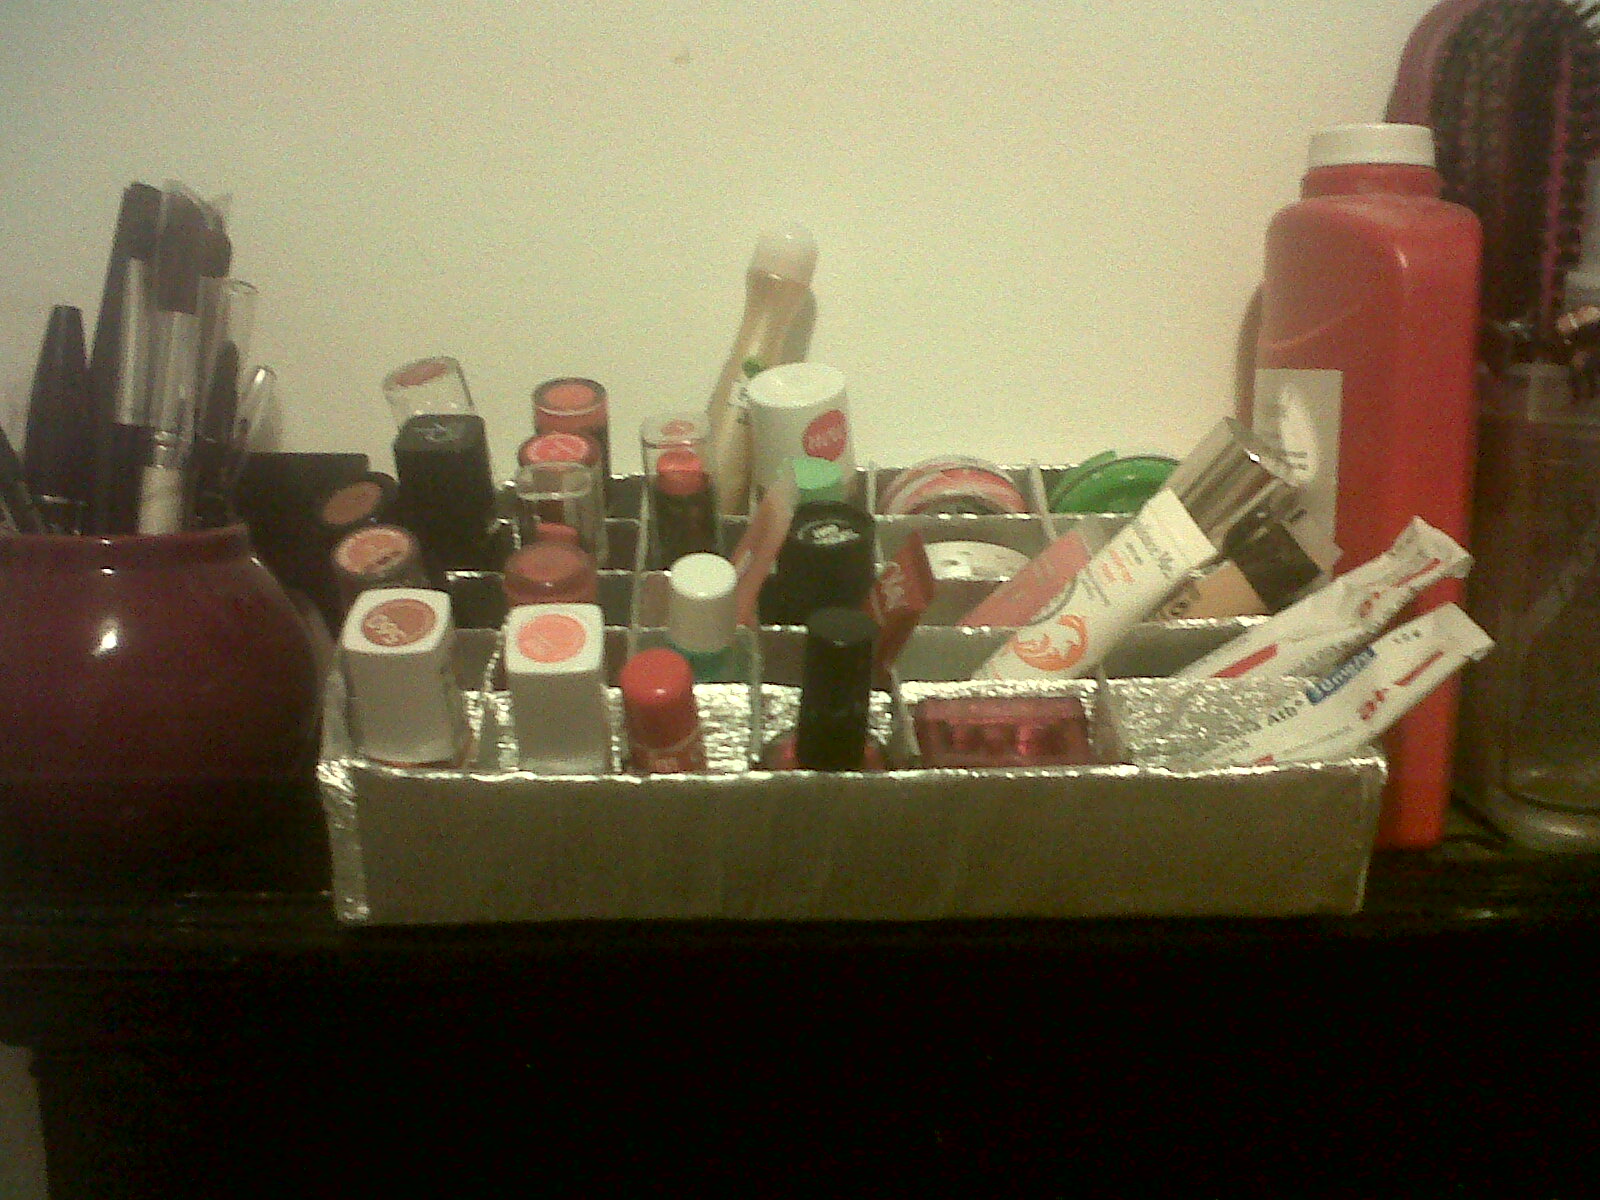

Later edit: I made a similar holder/organizer for my nail polish. These things are amazing at displaying your stuff and keeping all in one place. I cleared out so much space by using these! I am one happy camper! ;)


Wednesday, 29 May 2013

DIY - Stand for your tablet, watch videos/ movies like a queen/king


This diy is not only going to be fashion related, so only for cuteness sake :), but also I believe a practical and useful one. I bought a tablet recently, and they had an offer of getting a free case for it. Which is a very nice one, black simple, doesn't stand out too much. I like it. The downside of it, is that it does not have (had hihi) a stand, so I could not watch videos or whatnot while doing something else. So, I thought to myself, why not have a go at making a simple and efficient stand for myself. I am very pleased with the result and have been using it ever since  (meaning for 3 weeks :) ).

Material:
Original tablet case

- tablet case (the type that folds)
- velcro
- fabric glue
- material of your choice - I think both the colour of the case and colour block would look great! I used black velvet.


Steps:

1. Measure the width of your desire stand and also the length of it (this will determine the angle of the screen).
2. Cut the fabric to those measurements, leaving at the ends (of the length) allowance for the velcro to be added on. If the fabric is a bit thin, you might want to fold it once to make it more sturdy. I did this, and used the fabric glue to make sure the fabric sticks together well when folded.
Step 2
Step 3
3. With the width measured at step 1, cut 4 pieces (2 hook and 2 loop) of velcro of that length.
Important: If the tablet case has a camera space like mine, you might want to cut that space out in the middle of the velcro pieces as well, depending on whether the camera cut out comes on the same side as your stand. At this point you have to be careful to put the charger side on the top (not where you will add your stand), so you can have it standing and charge it at the same time (unless the charger is on the side).
Step 4
4. If you want to take the stand out (for travelling) you might want to cover the showing piece of velcro of the unfolded case (one will be behind the tablet, but one will show when unfolded), you can cut a piece of fabric of the dimensions on the velcro to add on it ;) Again, double it if the fabric is thin.
5. Stick the velcro on the ends of the stand fabric and on the parts of the case where it will attach on. I put the loop part where the tablet would be, because it's softer.
Step 5

Step 5
And voila, super easy, super useful and super cheap tablet case stand. I know the instructions seem a bit complicated and tedious when taken step by step, but it is pretty intuitive as to how it works.
Hope this helps, would like to hear comments, opinions, and maybe pictures if someone did this! :)
P.S. When I don't need the stand and I am at home, I just fold the stand inwards in between the 2 flaps of the case (as can be seen in the last pic the folded mark on the stand).


Friday, 19 April 2013

DIY - Earrings holder


This project was a spur of the moment thing. I usually organize my jewellery in small-ish plastic baskets, or in a container that has smaller divisions . The only problem with these is that I can't immediately see my options when trying to accessorize an outfit. This is why a display of some sort would be my first choice.
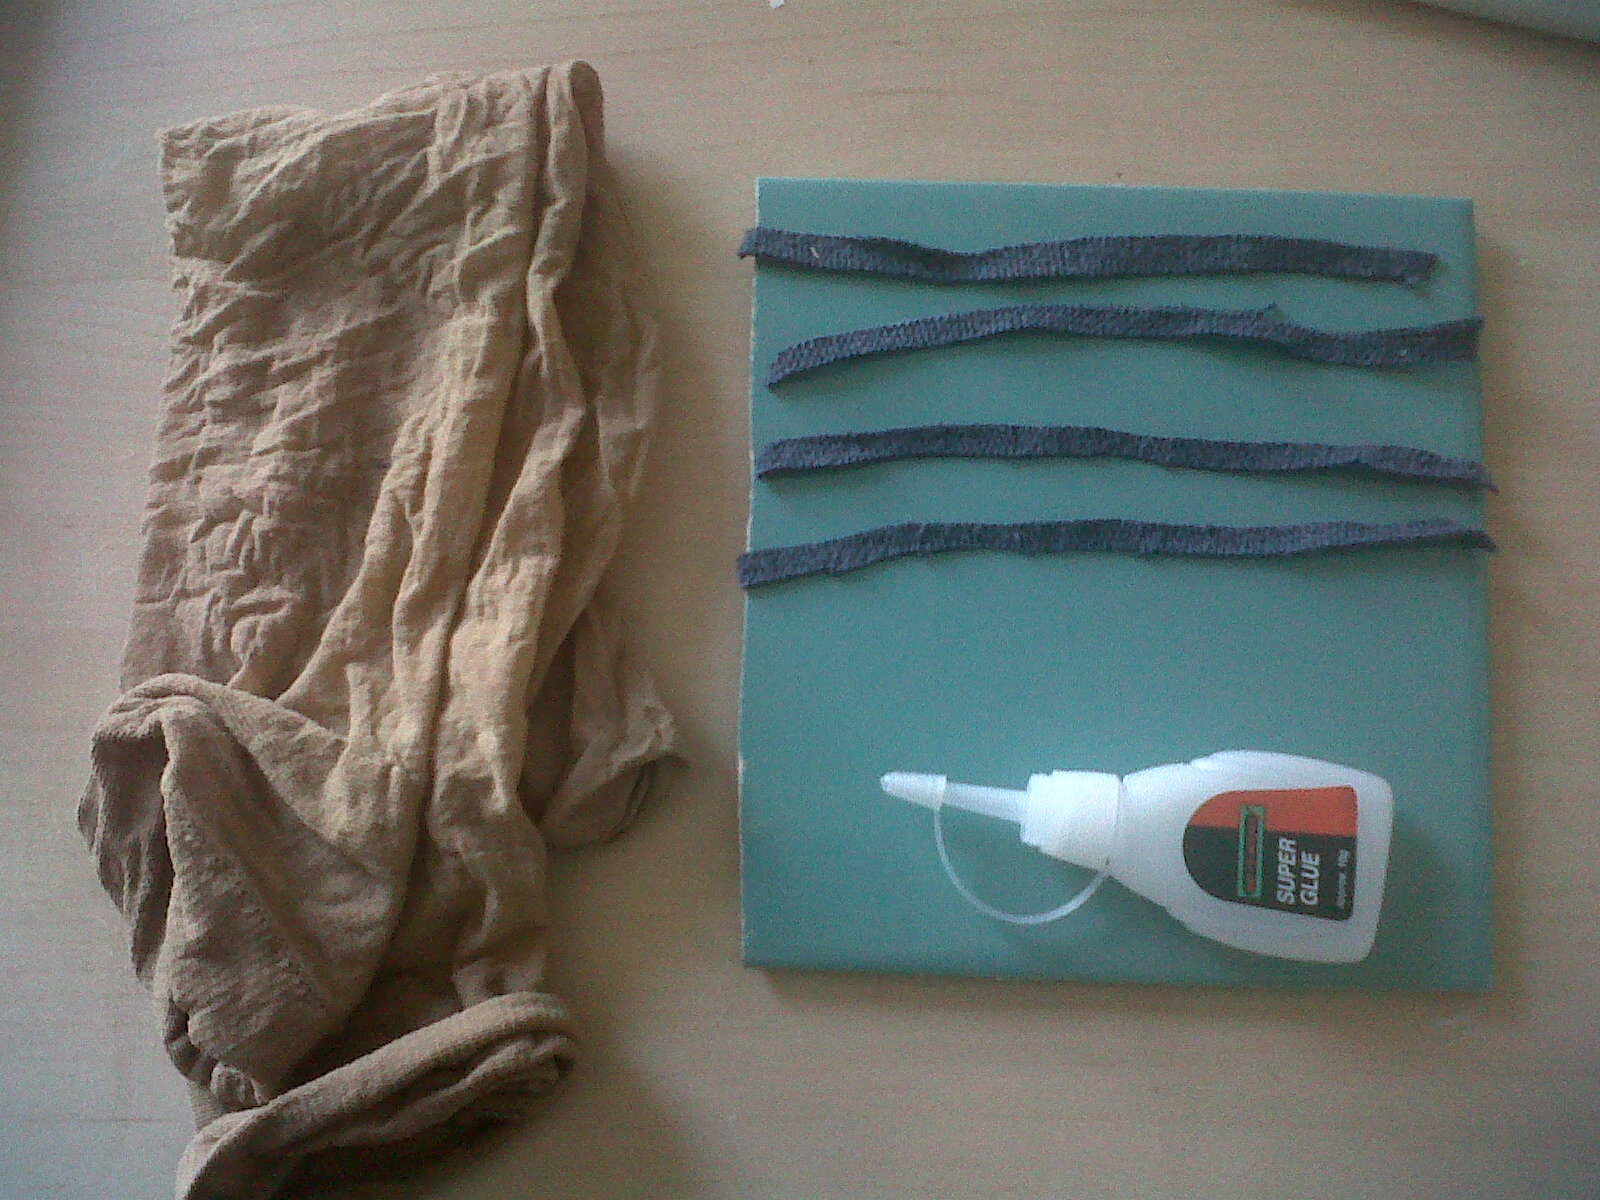
Yesterday there was some work done at my house, and I came across some really cute teal kitchen tiles. I immediately thought somehow of earrings holder, so I started to work on it. The materials are extremely easy to get:

- kitchen tiles or other hard material (cardboard)
- glue and a small strip of fabric
- stocking/tights (I had the shorter type below the knee, which is easier to handle)
- I added some sequins for decorations


So here are the steps for it:

1. Clean your tiles, if like mine they had dirt on them :)
2. Cut the fabric so it fits on the edges of your tiles, and glue the fabric to the tile as in the pics before:
 3. After the glue is dried, put the tile into the stocking. I have wrapped mine twice around it as it fit and I thought it would give support for more earrings :). I did the same with the second stocking, and secured it at the back by tying a knot. So in the end I had 4 layers of stocking. It ended up being so thick that the nice colour of the tile didn't show at all :( bummer.

4. After wrapping up the tile, I noticed that the edges looked a bit rough, because I overlaid the strips of fabric to secure them better. So to cover this and make the earrings holder stand out a bit more, I sewed some sequins around the edges. I am very please with the results, I think the sequins added a great doze of bling to it :)


5. The last step is to add a little abrasive strip of fabric on the bottom of it, to make sure that I'll not slip down from the surface your place it on. I secured mine on with velcro.
 And voila! the results are:


Any comments and suggestions welcomed! And I have some ideas for necklace and bracelets display, as I really need a cute one :)