Follow on: Follow on Bloglovin Follow Me on Pinterest Instagram
Share to: Share on Tumblr

Latest post

Latest post

Wednesday 24 April 2013

DIY - Stud, Stud, Stud!! Handbag and Top


I like studded things! (that's a great way to start a new post :) ). I mean, I don't like it when people dress head to toe (headband, top, jacket, bag, jeans, shoes) in studs, but I do think a stud here and there can really make something a bit more edgy.
Seeing I had a studded belt from my young years :) I decided to take all of the studs out and keep them for some projects. And two of the came fairly easy to me:
1. A vintage handbag, that was otherwise in great condition, but I thought could do with a bit of a modern twist.
2. A top, which was ok on it's own, but I thought why not add something to it. The top goes well with a belt, as it is flowy, but hope the pics are ok as they are.

Both these projects were fairly easy to complete. The bag studding was a bit time consuming, as the material is a bit thick, so I had to make sure the studs will stay in place.
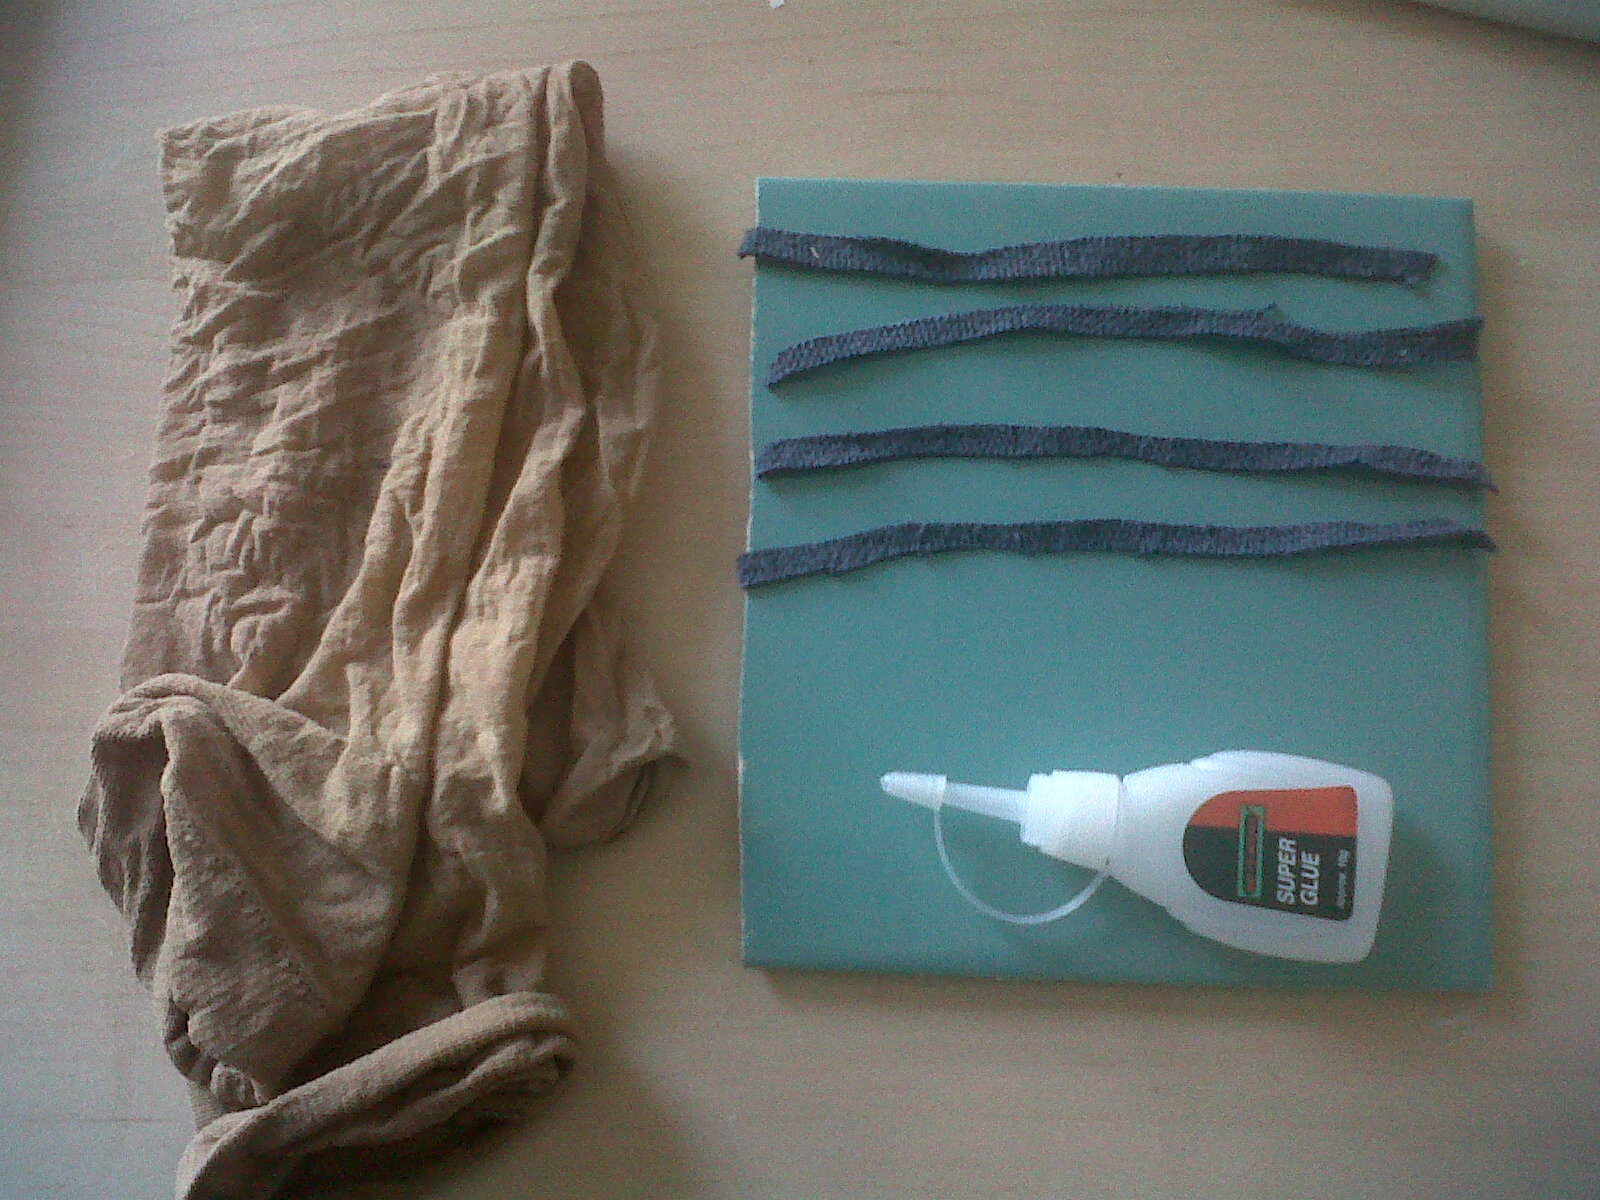
So the materials are:
1. Studs!!
2. Pliers or, as I used, a nail file (to cling the studs in)
3. Optional: glue - I only used this on the bag material


Now the easy part, steps:
1. Find the place on the items where you want your studs to go. Arrange  them without putting them in, so you'd get a feel of the final design. It's useful to put pins in the places where you'd want the studs to go, so the design doesn't deform half way through.

2. If the material is dense and thick, use the nail file to make tiny (I stress, tiny) holes in the fabric, so the stud legs would go in easily. I only did this on the bag.
3. Place the stud on the material and press it on.
4. On the back, using the pliers/nail file bend the stud legs inwards to make it cling to the fabric.
5. VoilĂ ! Studded anything you can think of!

I used a bit of glue to reinforce the studs on the bag. They hold very well. Wore it many times and they did not fall off! yey
Now, for the before and after pics:


For a cuter element to it I added 3 studs on each side of the shoulder strap.


Hope this is useful, and I would like to hear some opinions on this :) 
I also have something else already done involving studs, but it deserve a post on its own :) x


Friday 19 April 2013

DIY - Earrings holder


This project was a spur of the moment thing. I usually organize my jewellery in small-ish plastic baskets, or in a container that has smaller divisions . The only problem with these is that I can't immediately see my options when trying to accessorize an outfit. This is why a display of some sort would be my first choice.
Yesterday there was some work done at my house, and I came across some really cute teal kitchen tiles. I immediately thought somehow of earrings holder, so I started to work on it. The materials are extremely easy to get:

- kitchen tiles or other hard material (cardboard)
- glue and a small strip of fabric
- stocking/tights (I had the shorter type below the knee, which is easier to handle)
- I added some sequins for decorations


So here are the steps for it:

1. Clean your tiles, if like mine they had dirt on them :)
2. Cut the fabric so it fits on the edges of your tiles, and glue the fabric to the tile as in the pics before:
 3. After the glue is dried, put the tile into the stocking. I have wrapped mine twice around it as it fit and I thought it would give support for more earrings :). I did the same with the second stocking, and secured it at the back by tying a knot. So in the end I had 4 layers of stocking. It ended up being so thick that the nice colour of the tile didn't show at all :( bummer.

4. After wrapping up the tile, I noticed that the edges looked a bit rough, because I overlaid the strips of fabric to secure them better. So to cover this and make the earrings holder stand out a bit more, I sewed some sequins around the edges. I am very please with the results, I think the sequins added a great doze of bling to it :)


5. The last step is to add a little abrasive strip of fabric on the bottom of it, to make sure that I'll not slip down from the surface your place it on. I secured mine on with velcro.
 And voila! the results are:


Any comments and suggestions welcomed! And I have some ideas for necklace and bracelets display, as I really need a cute one :)


Saturday 13 April 2013

DIY - Party or casual detachable collars

The Peter Pan collars are really big right now, and I really like them. They are lady like and there are loads of very fresh designs out there. And the materials and embellishments options are endless (well..).  The prices on them start from somewhere around £7 and can go up to £30 on the high-street shops. The price is not of importance, but I thought it would be really cool to make my own one :) Quite an interesting project to take on. 
Now for how I did it. The materials I used are:

- paper for the patterns.
- 2 pieces of approximately A4 size material - your desired colour and material for the top part, and a scrap piece of material you may have for the under-layer.
- button and a piece of string (leather) for back closure.
- needle, thread, iron, hemming tape, pins, scissors.
- embellishments.

The steps:

1. The first thing is to find or make yourself a paper pattern for it. You can download a pattern from:

http://matterofstyle.blogspot.co.uk/2012/01/peter-pan-collar-diy-free-pattern.html

I made my own paper pattern using a headband as a circle guide for the neck opening. My pattern looks like this (the date on my camera played tricks :) ):


2. Take your base material and cut the exact shape of the collar pattern on the fabric. For more precision you can fold the patter and the fabric in half and cut both sides at the same time.
3. Take your cover material and cut the pattern leaving an allowance of about 2-3cm. This will help you cover the base material safely.
4. Pin the cover cut out on top of your base cut out.
5. Bend the cover material so that it covers all the base material and looks pretty, and using an iron on a medium to low setting iron it so it retains the shape you created.
6.1 Collar 1 - Sew the shape in place (sew the back edges of the cover material on the base material so the stitching doesn't show on the front of the collar). I did the stitching by hand.
6.2 Collar 2 - Using hemming tape (iron on glueing tape), I secured the edges of the cover material on the base material.
7. Sew at the edges a button and a fastening system - I used a small leather string I had lying around ;) You can also sew ribbon on each end and tie it at the back to secure.
8. Embellish at will!! I used sequins, pearl like beads and a bow I made from contrasting colour material.

This type of collar is so pretty and so much fun to do, that I ended making one for myself and also one for a friend! Mine is more party style, and hers is more sophisticated and elegant. And...now...for...the results :) 

Collar 1 - smart sophisticated 


Collar 2 - party time!!

 The quality of the pics may not be too great, the true to colour for the second collar is on the bow detail pic. Also, since these were already done when I posted this, there are no step by step instructions unfortunately.

Here are some links of my inspiration tutorials:

http://www.cremedelacraft.com/2012/09/diy-studded-collar-necklace-from.html 

http://ragstocouture.com/rainbow-pom-pom-collar-necklace-diy-tutorial/

http://thefrugalvegan.net/?p=5720

http://www.savevid.com/video/diy-peter-pan-collar-necklace.html

http://www.twylah.com/styleiconcloset/tweets/287410445843853313

Any opinions on this are more than welcomed! :)

Friday 12 April 2013

Impressive heelless diy shoes

So, I came across these Lady Gaga heelless shoes, and although I am definitely not a fan of the shoes (or Lady Gaga for that matter), the tutorial is interesting and the person very creative! :)